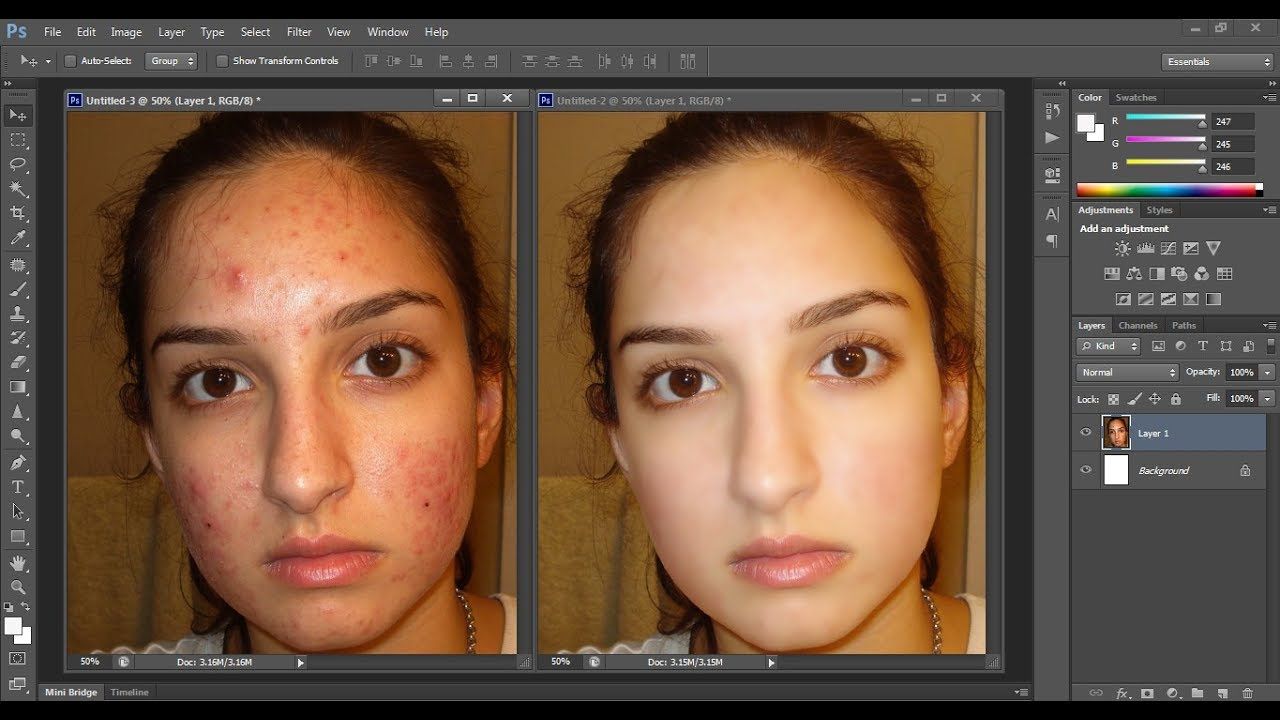
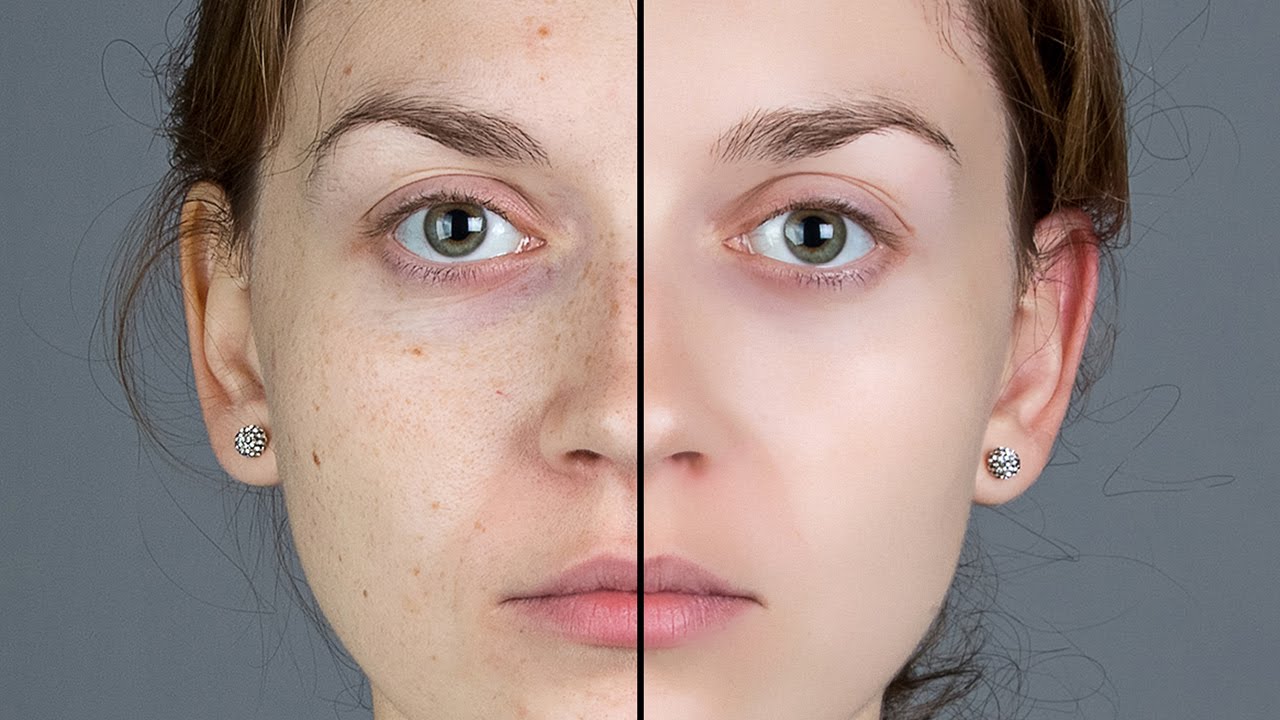
If you have tried editing a photo before then you probably known that skin smoothing can also be done in Lightroom. The effects of skin smoothing are so effective you will easily tell the difference between the edited photo from the original.
Skin smoothening is one of the best sleeklens features. But not so many people known how to make use of the skins smoothing features. This post will highlight some of the methods you need to try out if you want to learn how to smooth skin in lightroom.
Negative clarity
This is a skin smoothing method you can try out with lightroom. You will first have to lower your brush clarity slider to -100. This will most often result in strange haloing around contrast areas like the mouth or the nose.
This therefore works best on faces that are small in frame like group photos. This method also lowers exposure. So you can compensate for the darkening by adding the exposure slightly. Make sure you keep an eye on wayward tones since this can also result in color shifts.
Gentle skin smoothing
If you decide to use this option to smoothen the skin of your subject then you will also have to lower the brush to -63 clarity then increase noise reduction slider to +80. Your subject will have a softer look.
However, this option isn’t as aggressive as the negative clarity method. However, it is more natural and works best for small wrinkles and large pores. So if you are looking for a great option for general smoothing then this is what you need to consider.
Moderate skin smoothing
This method lowers the contrast between tones to offer the best skin smoothing. In this case, you will need to pull back the clarity and noise reduction sliders toward the center from the last version. You will then have to add a heavy dose of negative contrast.
So what you will have is a skin that is lighten a bit. If the skin becomes too bright, you can make use of the exposure slider to compensate it. However, this method may not cover or hide imperfections, instead, it helps lower the contrast between the shade differences on the subject’s skin. So this method assures you a very natural look with real skin texture.
This is the best method for wrinkles as it works to minimize the shadows. Adding it to the shadow slider is also a good idea as it allows you to control brightness to have a perfect exposure.
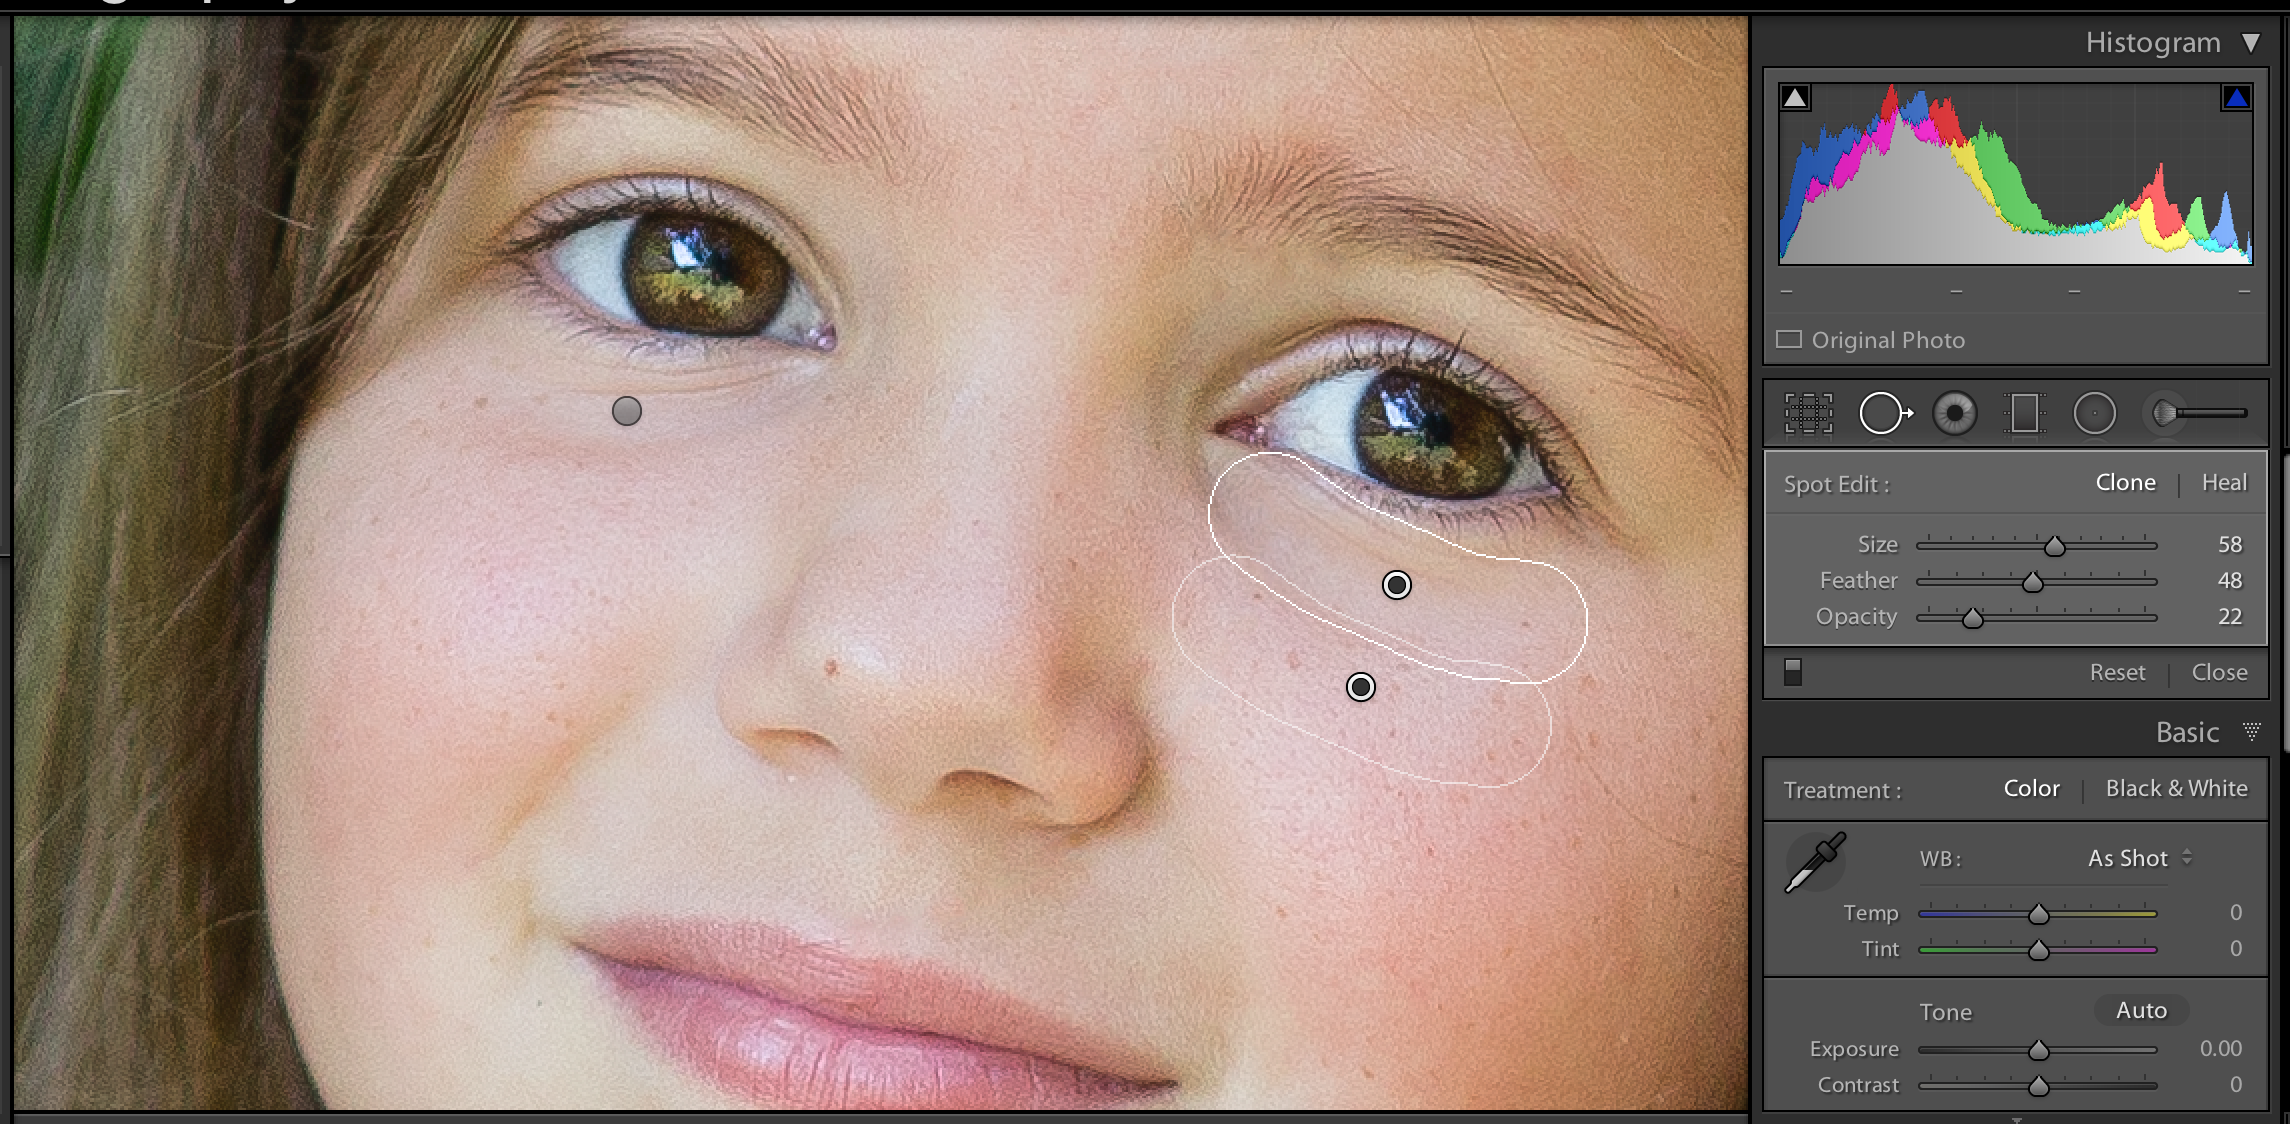
Ultimate skin smoothing
You can combine this method with a healing brush to have a very smooth appearance. Although it adds a heavy dose of negative sharpness, it can work for stylized images. As you use this method to perform skin smoothing, you need to watch out for areas that have high contrast. You should also consider using a soft brush when painting around high contrast areas like the eyes, mouth etc. This helps minimize a drastic transition. To have a perfect skin smoothing, your brush setting should have a contrast of -75, clarity of -67 and a sharpness of -63. You can also add the noise to +82.