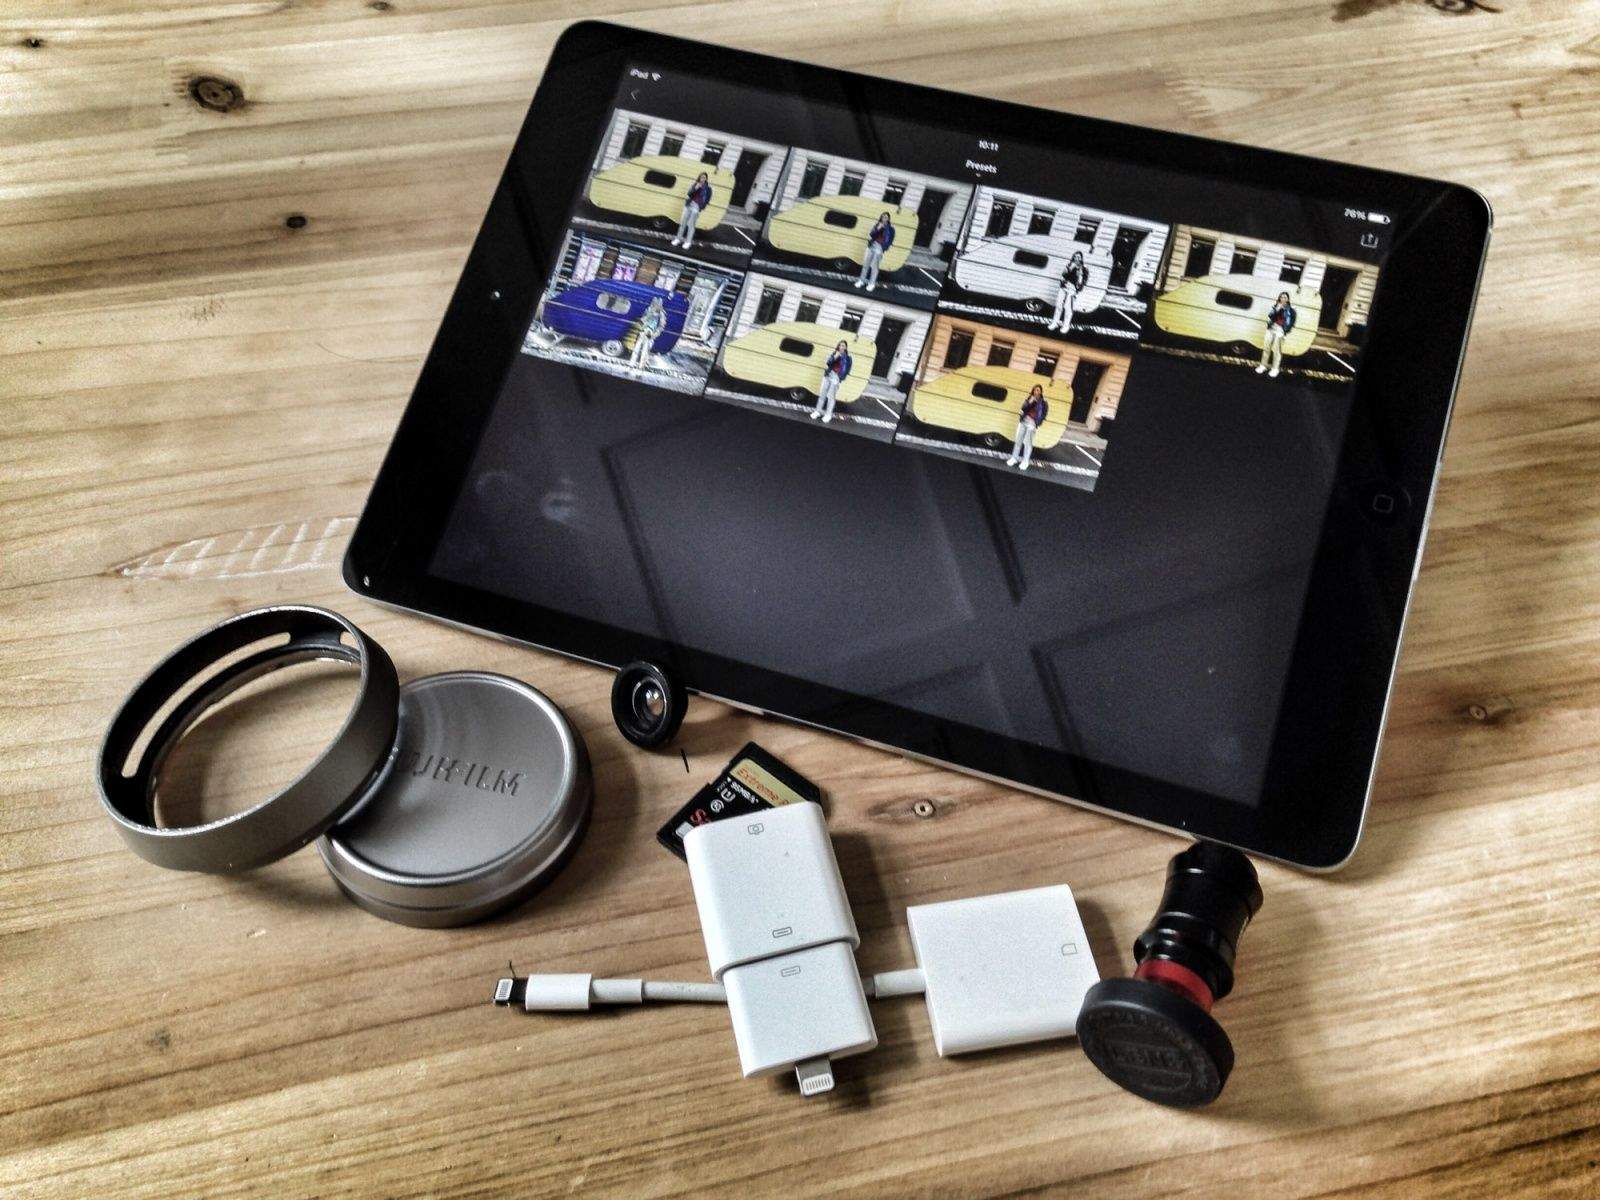
Adobe Lightroom continues to be one of the most famous and popular photo editing tools among designers and photographers. Besides, the most intuitive features are the ability for one to create presets that you can easily apply to other edits over and over on multiple images, which require the same editing effect.
A preset is essentially a one-click option for any edit that you apply to any photo. Although creating presets might take your time, having them will significantly reduce the time you spend editing photos.
The beauty of suing presets is that it allows you to create a consistent look in your photographs. So, how do you create a preset in Lightroom?
What are Lightroom presets?
The adobe lightroom presets are a set of predefined settings that one can apply to a photo. The presets can be for toning a photo, apply black and white effects or just making your photo look old. Nonetheless, you can as well use the feature to make your own post-processing workflow a lot easier.
How to save time by using your won Lightroom Presets
One of the first things most designers or photographers to whenever they begin developing a photo on Lightroom is to remove those chromatic aberrations and fringes around the photo.
Besides, you would also want to correct the optic faults like distortion with lens and add a little sharpness to your photo. Instead of applying all these steps to your photo over and over again, you can make a Lightroom preset that apply the three actions in just a single step by double-clicking on the preset.
How to create a preset in Lightroom
The first step in creating a pest is to open your photo in the Develop Mode tab and apply all the edits that you want to have on your photo. If you want to have a vintage feel on your photo for instance. You can create a specific preset for that look. After you have made all the edits in your photo save it and use it for the following steps.
-Select Develop Module in Lightroom
-From the top of the top of the navigator panel, you will see the option “presets”. At this point, you will see different presets already housed in Lightroom.
-Next click on the ‘+’ sign in order to add a new.
-A menu will pop and direct you on which preset settings you will need to have. If you are not sure of which one to choose, then you can select all.
-Choose an appropriate name for the e=new preset.
-Scroll down the menu to “User Presets,” this is where your new preset will be housed.
-Select a different photo in Lightroom.

-Choose the preset from the list user preset and apply it to your photo.
From now, anytime you begin processing a photo, all you require is to click on Lightroom presets that you have created and apply it to all the photos that you want to have the same effect. Besides, you can use the same procedure to create any type of preset that you can house within Lightroom.